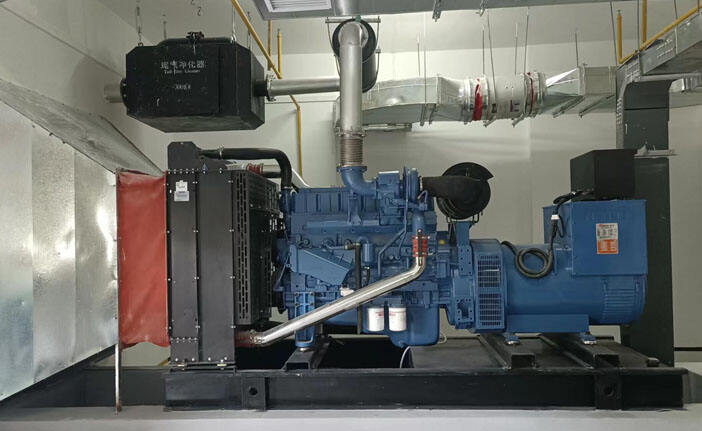
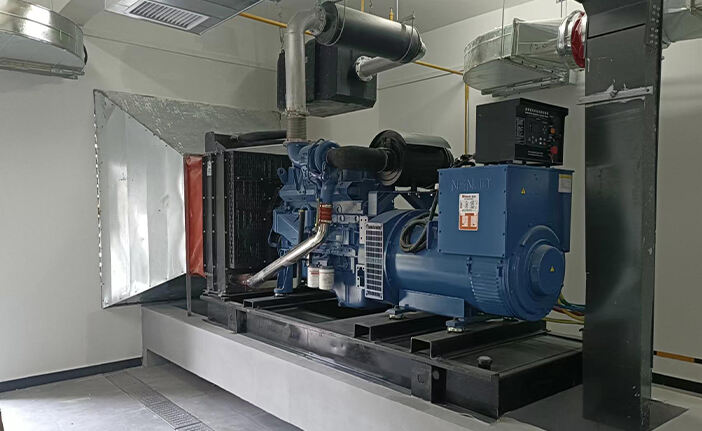
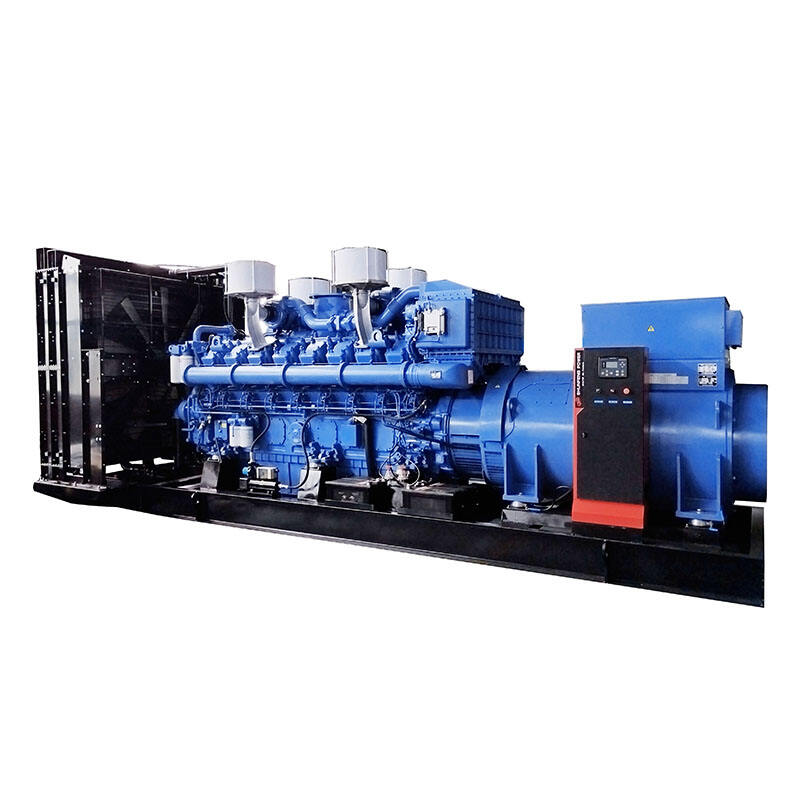
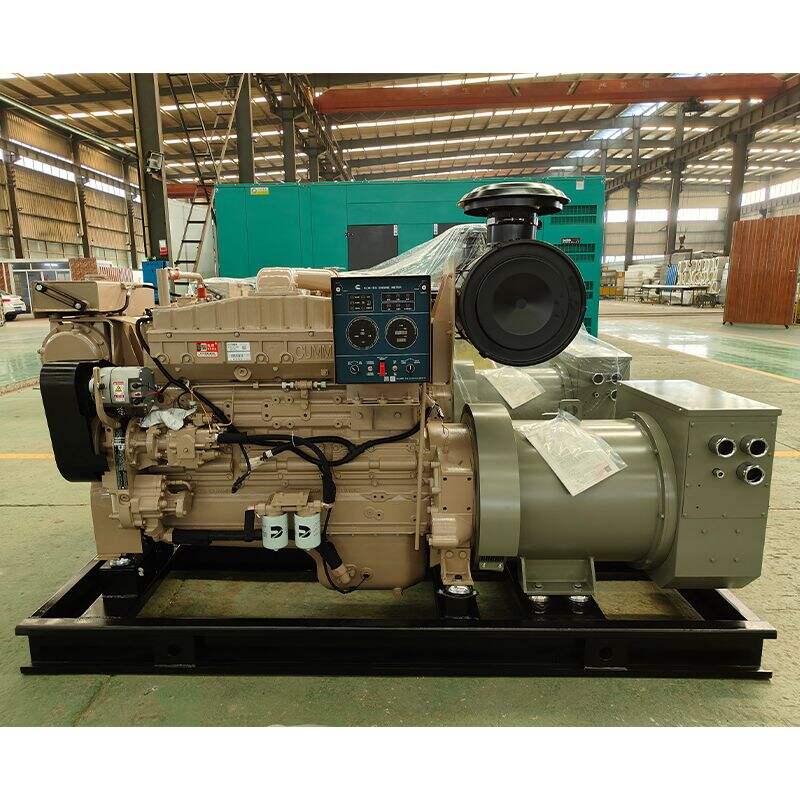
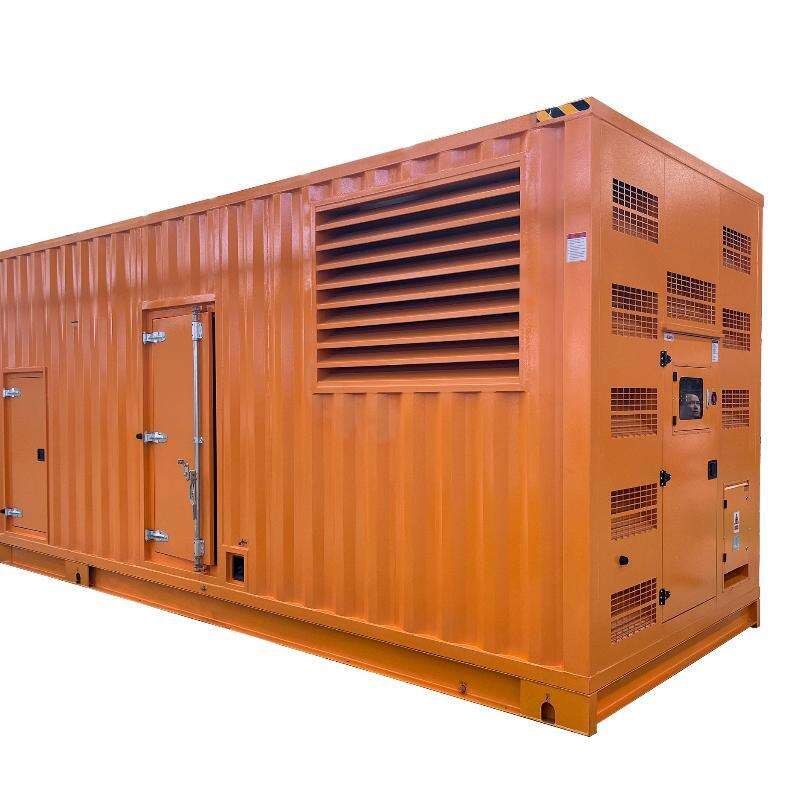
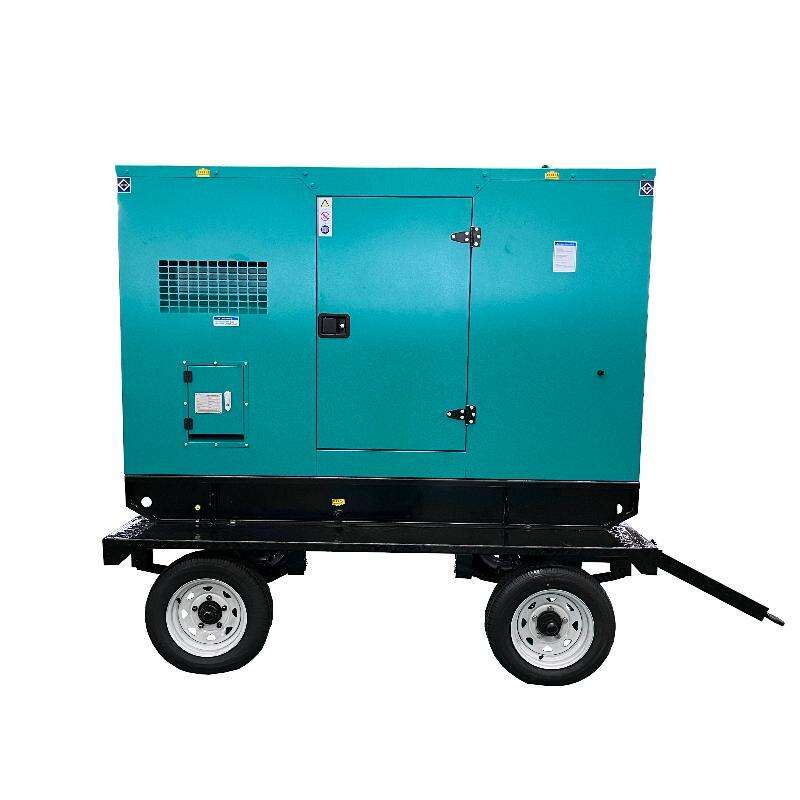
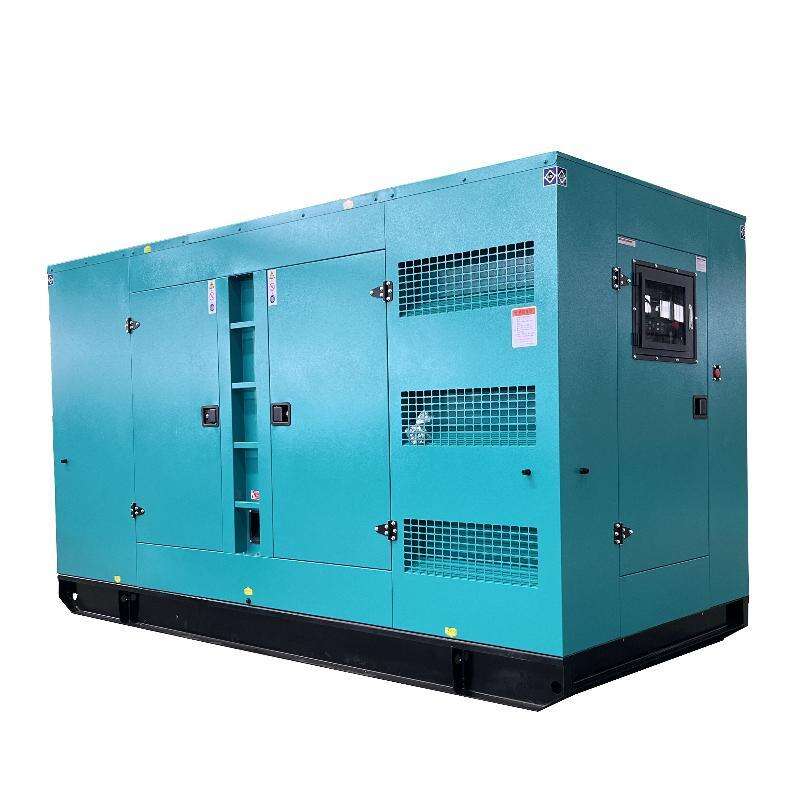
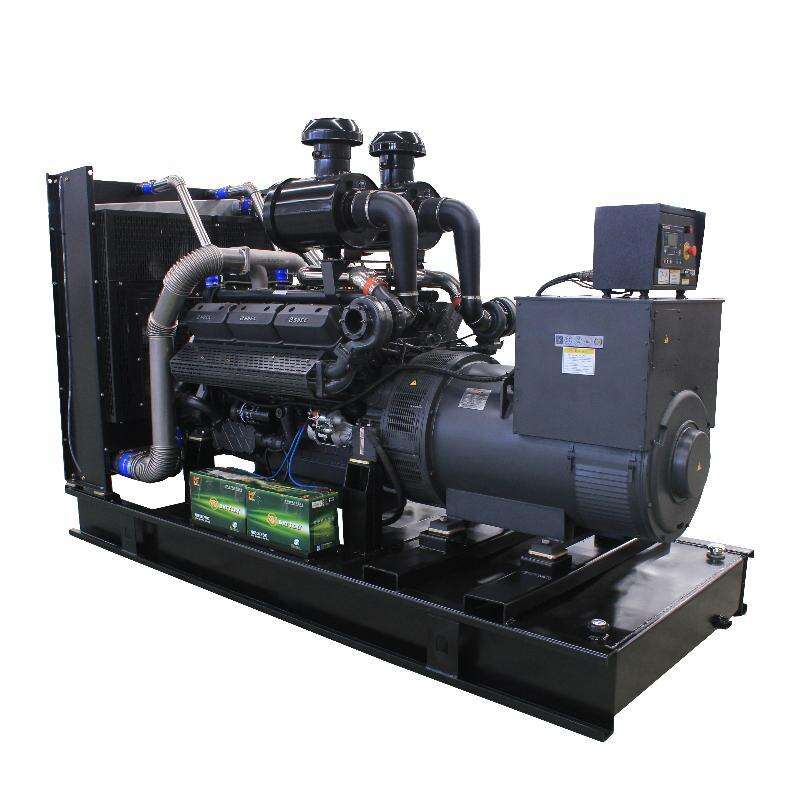
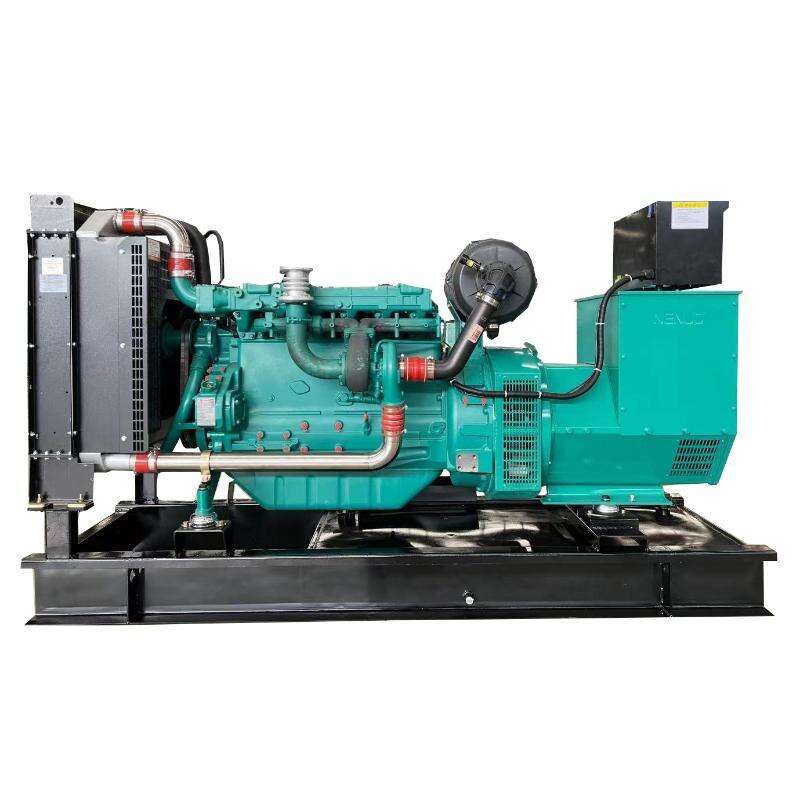
การตรวจสอบประจำวันของเครื่องกำเนิดไฟฟ้าดีเซล
นอกจากการบำรุงรักษาประจำวันแล้ว งานต่อไปนี้จำเป็นต้องเพิ่มเติม:
1. ตรวจสอบแรงดันไฟฟ้าของแบตเตอรี่เครื่องกำเนิดไฟฟ้าและน้ำหนักจำเพาะของสารอิเล็กโทรไลต์ น้ำหนักจำเพาะของสารอิเล็กโทรไลต์ควรอยู่ที่ 1.28-1.29 (ที่อุณหภูมิบรรยากาศ 15 ℃) โดยทั่วไปไม่น้อยกว่า 1.27 นอกจากนี้ให้ตรวจสอบว่าระดับของสารอิเล็กโทรไลต์อยู่เหนือแผ่นขั้วไฟฟ้า 10-15 มม. หากไม่เพียงพอให้เติมน้ำกลั่นตามความต้องการ
2. เปิดฝาครอบด้านข้างของตัวเครื่อง ดึงแผ่นสปริงล็อกของกรองหยาบของถังน้ำมันออก เอากรองหยาบออกมาทำความสะอาด ทำความสะอาดกรองละเอียดน้ำมันและกรองหยาบทุกๆ 200 ชั่วโมง และเปลี่ยนน้ำมันทั้งหมด (หากน้ำมันค่อนข้างสะอาด เวลาเปลี่ยนสามารถขยายออกไปได้)
3. เมื่อชุดเครื่องกำเนิดไฟฟ้าดีเซลใช้ปั๊มน้ำมันแรงดันสูงประเภท B ควรตรวจสอบระดับน้ำมันในปั๊มฉีดน้ำมันและตัวควบคุมความเร็ว และเติมน้ำมันหากจำเป็น
4. เติมไขมันหล่อลื่นหรือน้ำมันเครื่องที่เป็นไปตามข้อกำหนดลงในหัวฉีดน้ำมันและพื้นที่อื่นๆ ทั้งหมด
5. ทำความสะอาดตัวกรองอากาศ กำจัดฝุ่นออกจากถาดเก็บฝุ่น ถอดชิ้นส่วนของตัวกรองออก และใช้วิธีการสั่นสะเทือนหรืออากาศอัด (ความดัน 98kPa - 147kPa) เป่าออกทางด้านนอกจากตรงกลางเพื่อกำจัดฝุ่นที่ติดอยู่
ตัวกรองอากาศประกอบด้วยสามส่วน ได้แก่ ฝาป้องกันฝน เกลียวลม และตัวกรองกระดาษ เมื่ออากาศถูกดูดเข้ามาจากฝาป้องกันฝน มันจะผ่านแหวนใบพัดภายในตัวเครื่อง โดยแรงเหวี่ยงและแรงเฉื่อย ส่วนใหญ่ของฝุ่นในอากาศจะตกไปบนแผ่นเก็บฝุ่นที่ด้านหลังของตัวเครื่อง ฝุ่นขนาดเล็กจะถูกกรองโดยตัวกรองกระดาษ และอากาศที่สะอาดแล้วจะถูกดูดเข้าสู่เทอร์โบชาร์จเจอร์และเข้าสู่ชุดเครื่องกำเนิดไฟฟ้าดีเซล เพื่อให้สะดวกต่อการกำจัดฝุ่นและการเปลี่ยนตัวกรอง ตัวภายนอกของตัวกรอง ตัวกรอง และถาดเก็บฝุ่นสามารถถอดแยกชิ้นส่วนได้ ถาดเก็บฝุ่น - r | จะถูกนำมาใช้สำหรับการกำจัดฝุ่นด้วยมือ
ควรบำรุงรักษาไส้กรองอากาศเป็นประจำตามข้อกำหนดต่อไปนี้:
(1) หลังจากเครื่องยนต์ทำงานไปทุกๆ 50-100 ชั่วโมง (ขึ้นอยู่กับสภาพการทำงาน) ให้เปิดฝาหลังเพื่อนำฝุ่นออกจากฝาเก็บฝุ่น
(2) หลังจากเครื่องยนต์ทำงานไปทุกๆ 100-200 ชั่วโมง ให้นำองค์ประกอบของไส้กรองออกแล้วทำความสะอาดโดยใช้การสั่นสะเทือนหรืออากาศอัด (ด้วยแรงดัน 98kPa~147kPa) เป่าออกจากรอบกลาง
(3) เมื่อเครื่องยนต์ทำงานไปถึง 500-1000 ชั่วโมง หรือเมื่อควันไอเสียหนาเกินไปหรืออุณหภูมิไอเสียสูงเกินไปเนื่องจากไส้กรองตัน ควรเปลี่ยนไส้กรองใหม่
(4) ให้แน่ใจว่าไส้กรองแห้ง และเปลี่ยนเป็นใบใหม่เมื่อมีรูโหว่หรือปนเปื้อนด้วยน้ำหรือน้ำมัน
(5) เด็ดขาดห้ามทำความสะอาดไส้กรองด้วยน้ำมันหรือน้ำใดๆ
(6) ตัวกรองอากาศนี้มาพร้อมกับตัวชี้วัดการบำรุงรักษาตัวกรองอากาศ หากสัญญาณ "สีแดง" เกิดขึ้นบนตัวชี้วัดการบำรุงรักษา หมายความว่าตัวกรองของตัวกรองอากาศถูกอุดตัน การบำรุงรักษาควรดำเนินการตามวิธีดังกล่าวข้างต้น หลังจากการบำรุงรักษา เลื่อนฝายางที่ด้านบนของตัวชี้วัดเพื่อให้แสงตัวชี้วัดกลับเป็น "สีเขียว" ซึ่งแสดงว่าตัวกรองอากาศสามารถทำงานได้ตามปกติ
6. ทุกๆ 200 ชั่วโมง ควรถอดองค์ประกอบของแผ่นกรองและตัวบรรจุของไส้กรองน้ำมันเชื้อเพลิงออก และทำความสะอาดหรือเปลี่ยนไส้กรองในน้ำมันดีเซลหรือน้ำมันก๊าด หากใช้ไส้กรองน้ำมันหมุนได้ และเครื่องยนต์ดีเซลทำงานมาประมาณ 250 ชั่วโมงแล้ว ควรเปลี่ยนไส้กรองน้ำมันหมุนได้เพื่อให้มั่นใจว่าความสะอาดของน้ำมันดีเซลที่เข้าสู่ปั๊มน้ำมันแรงดันสูงตรงตามข้อกำหนด เมื่อเปลี่ยน ให้ถอดไส้กรองและตัวบรรจุของชุดกำเนิดไฟฟ้าน้ำมันดีเซลออกจากฐานกรอง แทนที่ด้วยชุดไส้กรองใหม่ และติดตั้งกลับไปบนฐานกรอง เพื่อให้มั่นใจเรื่องการปิดสนิท เมื่อติดตั้งไส้กรองใหม่ สามารถทาครีมหล่อลื่นเล็กน้อยที่ปลายแหวนผนึกบนสุด จากนั้นเกลียวกลับเข้าสู่ฐานกรอง ในขณะเดียวกันกับการเปลี่ยนชุดกรองของเครื่องกรองน้ำมันดีเซลที่กล่าวถึงข้างต้น ควรถอดข้อต่อท่อทางเข้าน้ำมันของปั๊มโอนน้ำมันออกมาด้วย ทำความสะอาดไส้กรองหยาบภายในในน้ำมันดีเซล จากนั้นติดตั้งกลับเข้าสู่ปั๊มโอนน้ำมัน เพื่อป้องกันไม่ให้ไส้กรองหยาบอุดตันและส่งผลต่อการจ่ายน้ำมันของปั๊มโอนน้ำมัน
7. ทำความสะอาดตัวกรองน้ำมันเทอร์โบชาร์จ ล้างองค์ประกอบของตัวกรองและท่อในดีเซลหรือน้ำมันก๊อก และเป่าให้แห้งเพื่อป้องกันการปนเปื้อนจากฝุ่นละอองและสิ่งสกปรก; ทำความสะอาดตัวกรองน้ำมันเครื่องทุกๆ 200 ชั่วโมง หมุนด้ามเพื่อลบคราบน้ำมันบนพื้นผิวของตัวกรอง หรือวางลงในดีเซลเพื่อขัด
8. เคลื่อนย้ายโรเตอร์ของเทอร์โบชาร์จด้วยมือ หากโรเตอร์ไม่หมุนได้อย่างคล่องตัว ลื่นไหล หรือหยุดหมุนอย่างรวดเร็ว หมายความว่าส่วนของแบริ่งอาจสึกหรอเกินไป หรืออาจมีการเสียดทานหรือติดขัดระหว่างชิ้นส่วนของโรเตอร์กับชิ้นส่วนที่ตรึงไว้ นอกจากนี้ยังอาจแสดงถึงการสะสมของคาร์บอนอย่างรุนแรงบนแผ่นซีลปลายด้านหลังของเทอร์ไบน์ ในกรณีนี้จำเป็นต้องถอดเทอร์โบชาร์จออก ตรวจสอบค่าช่องว่างแนวรัศมีและการเคลื่อนที่ตามแกน วิเคราะห์สาเหตุของข้อผิดพลาด และหาวิธีแก้ไข
9. ตรวจสอบว่าสกรูยึดของแผ่นแรงดันที่เชื่อมต่อระหว่างชุดเทอร์ไบน์และชุดกลางหลวมหรือไม่ จากนั้นขันให้แน่น
10. ถอดฝาครอบคอมเพรสเซอร์ออก ใช้แปรงทำความสะอาดสิ่งสกปรกบนใบพัดคอมเพรสเซอร์และทางเดินของอากาศในฝาครอบคอมเพรสเซอร์
(3)การบำรุงรักษาเทคนิคระดับรอง
นอกจากจะปฏิบัติตามรายการบำรุงรักษาเทคนิคแล้ว จะเพิ่มงานต่อไปนี้อีกด้วย:
1. ตรวจสอบความดันฉีดของหัวฉีด สังเกตสภาพการพ่น ทำความสะอาดหัวฉีดและปรับแต่งหากจำเป็น (ความดันฉีดของหัวฉีด 437 เป็น 18.6MPa และของหัวฉีด 532 เป็น 23.5MPa)
2. ตรวจสอบสภาพของปั๊มฉีดน้ำมันและปรับแต่งหากจำเป็น
3. ตรวจสอบจังหวะของการกระจายแก๊สและการปรับมุมล่วงหน้าของการจ่ายเชื้อเพลิง และทำการปรับแต่งตามความจำเป็น
4. ถอดฝากระบอกสูบออก ตรวจสอบความแน่นหนาและความสึกหรอของวาล์วไอดีและวาล์วไอเสีย ขัดและซ่อมแซมหากจำเป็น
5. ตรวจสอบปั๊มน้ำว่ามีการรั่วไหลหรือไม่ และซ่อมแซมหรือเปลี่ยนใหม่หากจำเป็น
6. ถอดแผ่นฝาด้านข้างของตัวเครื่องยนต์และตรวจสอบว่ามีน้ำรั่วจากส่วนล่างของกระบอกสูบหรือไม่ หากจำเป็น ให้ถอดกระบอกสูบออกแล้ว เปลี่ยนแหวนผนึกยางใหม่
7. ถอดแผ่นฝาหน้าออกและตรวจสอบว่าปลั๊กฉีดน้ำมันและรูฉีดบนฝาชุดกลไกการส่งกำลังมีอุปสรรคหรือไม่ หากเกิดการอุดตัน ควรทำความสะอาด
8. ตรวจสอบว่าน้ำมันหรือน้ำรั่วจากเครื่องทำความเย็นน้ำมันและหม้อน้ำหรือไม่ และซ่อมแซมหากจำเป็น
9. ตรวจสอบความแน่นของน็อตแขนเชื่อมโยง น็อตเพลาข้อเหวี่ยง น็อตหัวกระบอกสูบ และโบลท์ตัวเครื่องยนต์ หากจำเป็น ให้ถอดออกเพื่อตรวจสอบและขันกลับไปที่แรงบิดที่กำหนด
10. ตรวจสอบข้อต่อสายไฟในอุปกรณ์ไฟฟ้า และเปลี่ยนใหม่หากมีร่องรอยไหม้
11. ทำความสะอาดท่อระบบปิ้งเครื่องและเชื้อเพลิง รวมถึงการทำความสะอาดถาดน้ำมันเครื่อง ท่อน้ำมันเครื่อง เครื่องทำความเย็นน้ำมันเครื่อง ถังเชื้อเพลิงและท่อ กำจัดสิ่งสกปรกและเป่าให้สะอาด
12. ทำความสะอาดระบบระบายความร้อน
13. พิจารณาว่าจะถอดเทอร์โบชาร์จเจอร์หรือไม่ขึ้นอยู่กับการทำงานของเครื่องยนต์ หากจำเป็น ให้ถอดเทอร์โบชาร์จเจอร์และดำเนินการตามงานต่อไปนี้: ทำความสะอาดแหวนผนึกด้านเทอร์ไบน์ แผ่นผนึกด้านเทอร์ไบน์ กากคาร์บอนและสิ่งสกปรกในใบพัดเทอร์ไบน์และโครงสร้างภายใน ทำความสะอาดห้องน้ำมันในเปลือกกลาง เช็คการสึกหรอของหมุดลูกปืน พิจารณาเปลี่ยนอะไหล่ตามขนาดของการสึกหรอ เช็คการสึกหรอของแหวนผนึกน้ำมัน และตรวจสอบว่ามีการหลอมรวมหรือสูญเสียความยืดหยุ่นหรือไม่ หากไม่ใช่ ให้พิจารณาเปลี่ยนอะไหล่

 EN
EN
 AR
AR
 BG
BG
 HR
HR
 CS
CS
 DA
DA
 NL
NL
 FI
FI
 FR
FR
 DE
DE
 EL
EL
 HI
HI
 IT
IT
 JA
JA
 KO
KO
 NO
NO
 PL
PL
 PT
PT
 RO
RO
 RU
RU
 ES
ES
 SV
SV
 TL
TL
 VI
VI
 TH
TH
 TR
TR
 GA
GA
 CY
CY
 BE
BE
 IS
IS

